Site Settings App
How to Manage Your Website General Settings
Handle all of your site settings in one place with the Site Settings App!
Head over to your 'Dashboard' located on the Left Panel, and select the Site Settings App. The Site Settings App is divided into two sections, 'Basic' and 'Code Injection'.
Basic Settings
This section includes the basic settings of your website, like Site Offline, Site Versioning and Caching, Site Name, Logo, Favicon, etc.

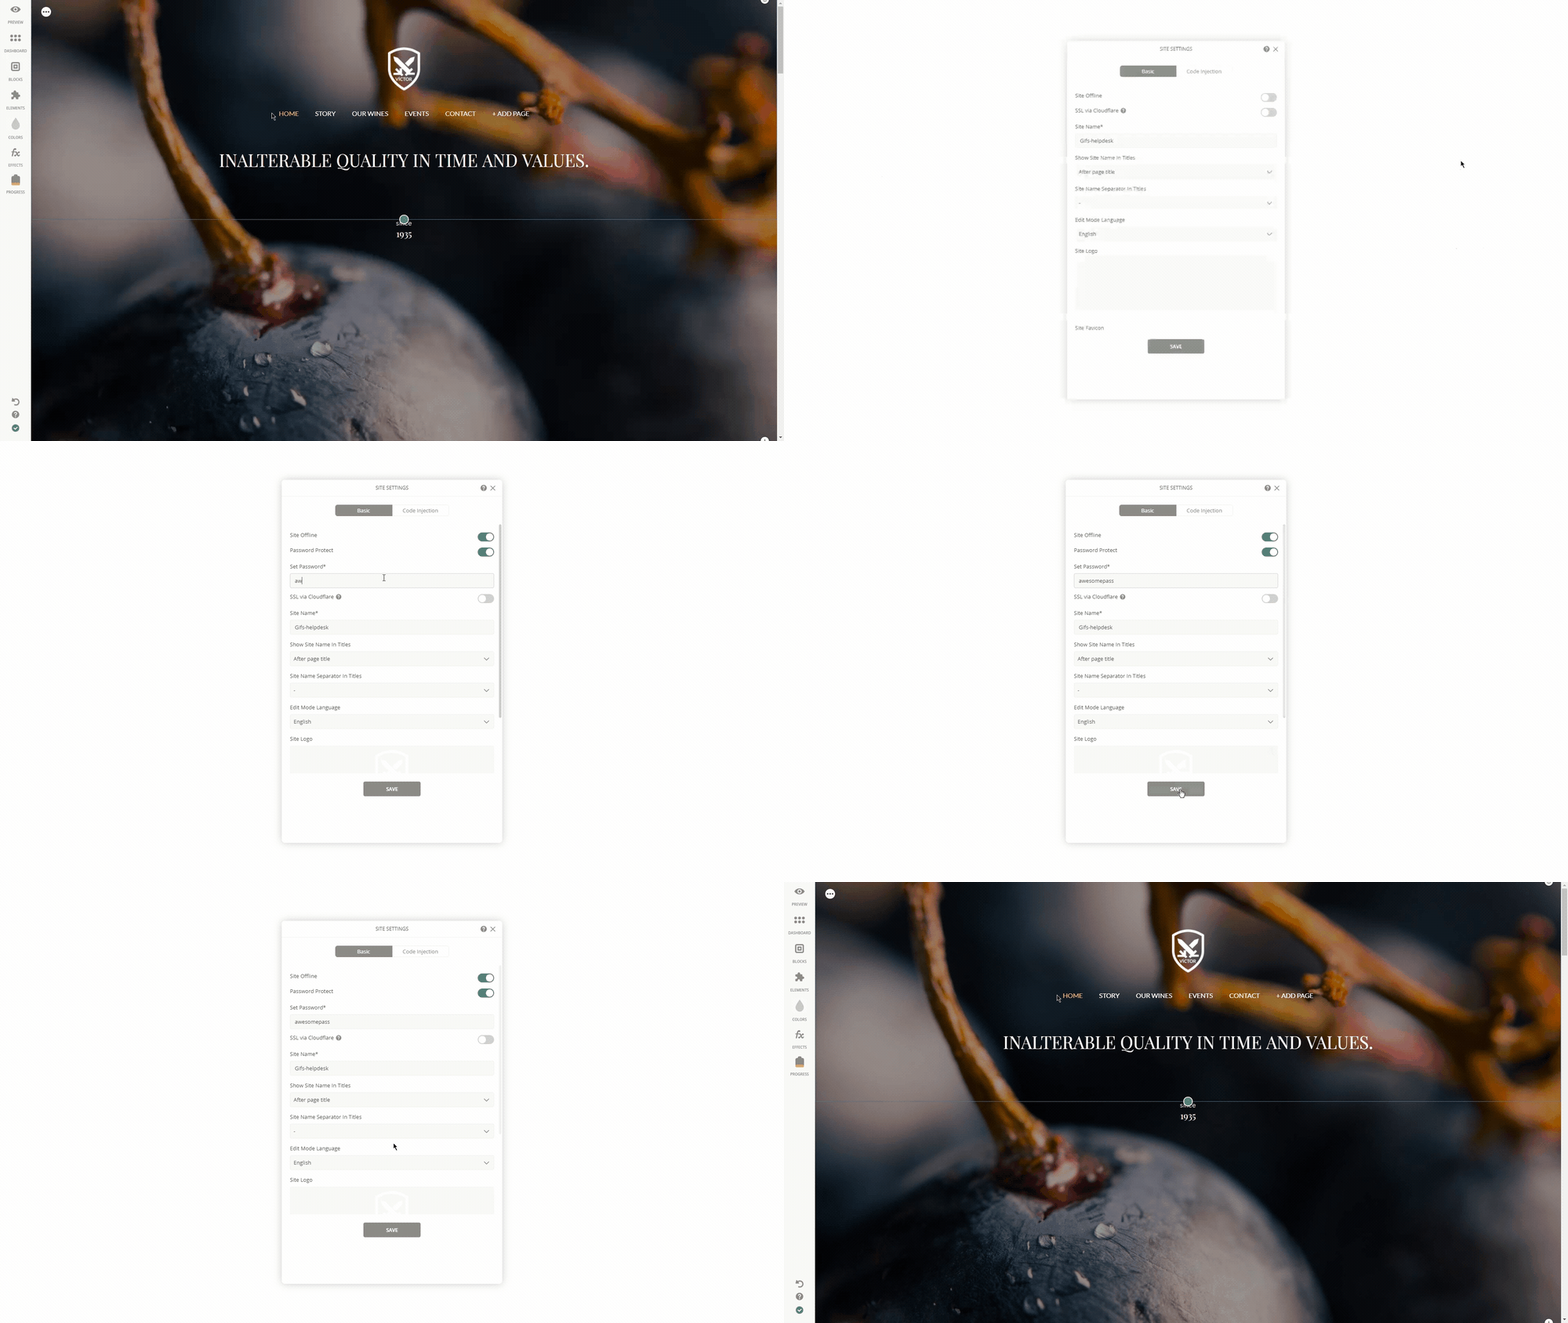
Site Offline
While completing your site, set it offline so users don't visit an uncompleted site.
Password Protect
Password protect your site. This option becomes available once the Site Offline switches is enabled. To edit the Password Protected page, navigate to Pages App > System Pages > Password Protected > Edit.
Site Versioning
Connect your website to your custom domain. If the site versioning option is enabled, your website changes won't appear on your domain unless you use the Publish function.
Site Caching
Major reduction in server lag. When enabled, it will automatically save the data of your website to ensure fast loading for the next entries.
Tablet Mode Display:
Mobile View is set by default when browsing the website from tablet. However, you can always switch it from the Mobile view to Desktop at any time.
Timezone
Automatically established during website creation. Edit the timezone while working with Elements such as Countdown. Your website timezone can affect your Element timing.
Site Favicon
It's the icon that appears on your browser tab located next to the site name. Either upload your own image or choose one from Unsplash's Free Stock collection.
Mobile Touch Icon
This icon is used when visitors bookmark your web page or add your web page to their home screen. This is currently for iOS devices only. Feel free to upload your own PNG file or select one from our Free Stock collection.
Open Safari > Load Site Page > Tap Bookmark icon. At the bottom of the screen you'll see an ‘Add to home screen' icon. You'll then have the option to choose a name for the home screen icon.
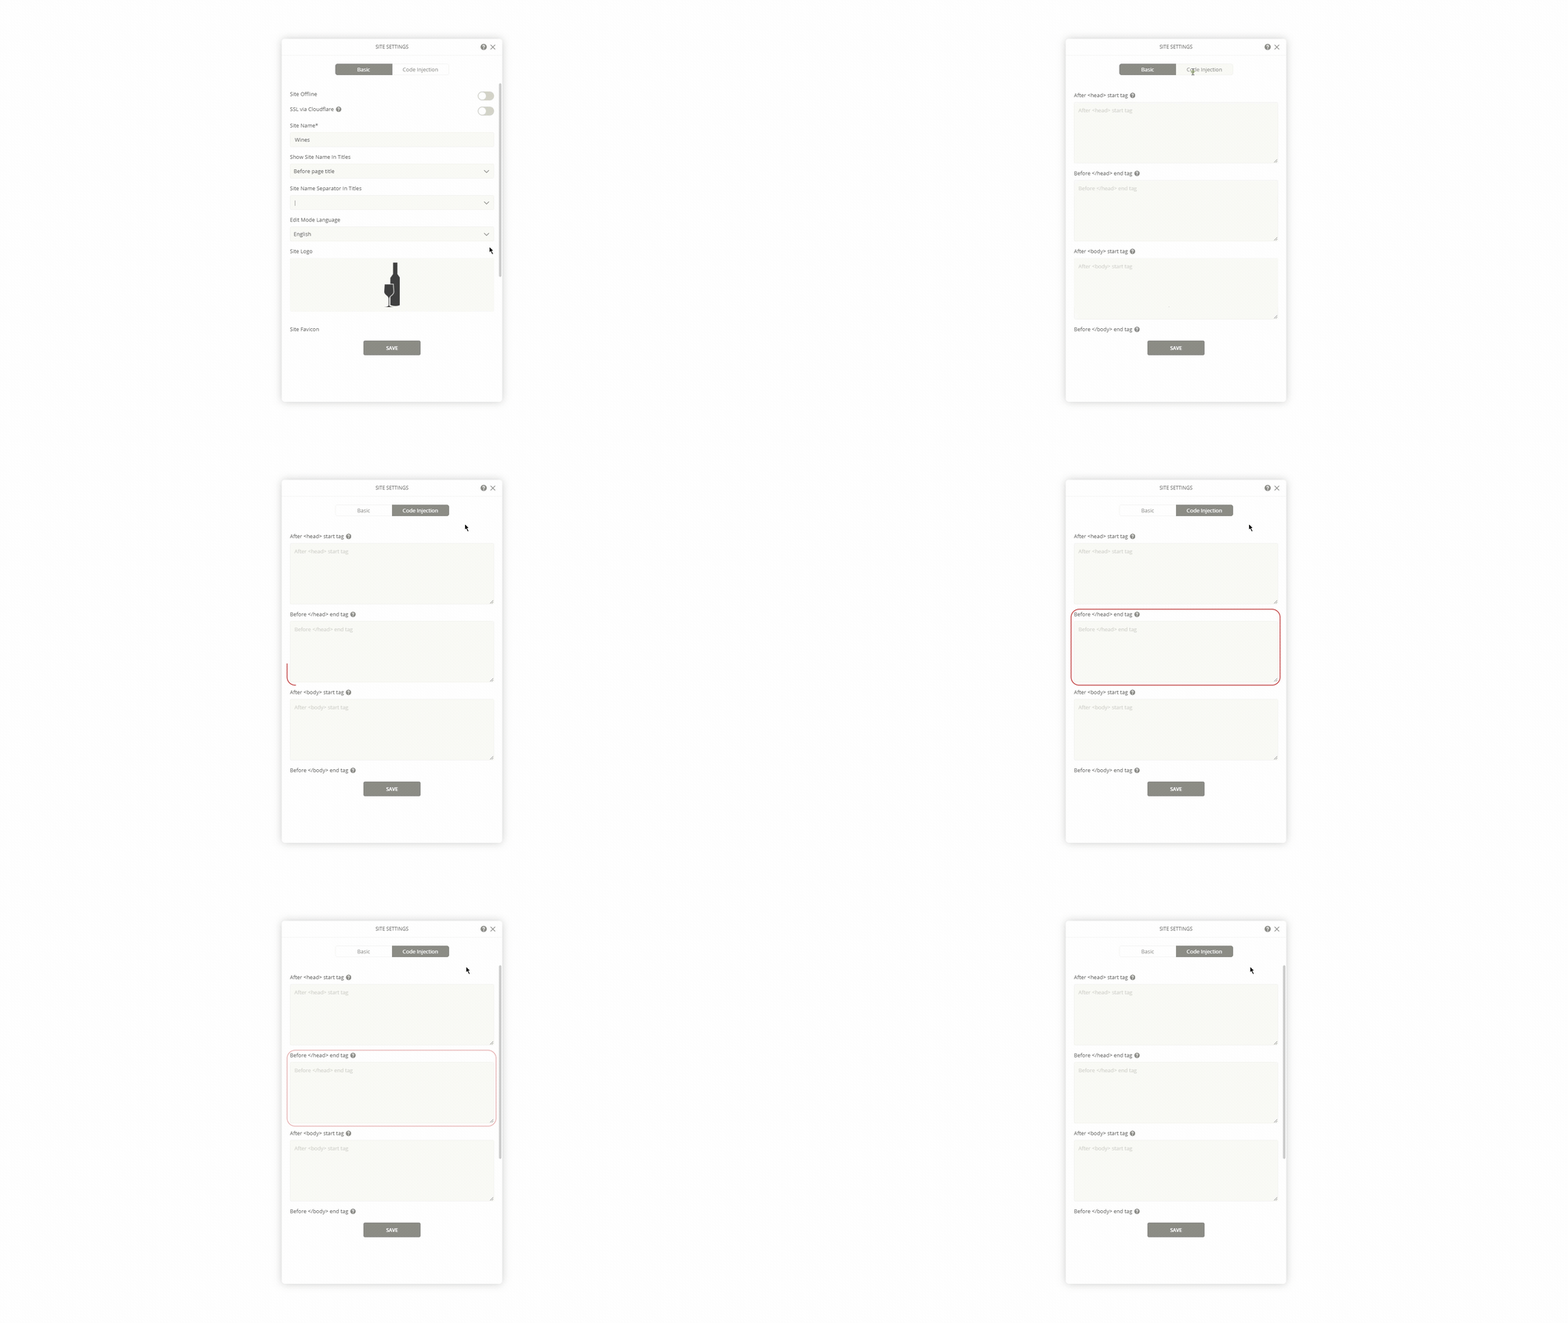
Code Injection
Add HTML tags in the 'Code Injection' section.

You can add CSS and Javascript codes to your website, as long as they include the HTML tags.
Fill the appropriate fields with the desired tags and click ‘Save’. Keep in mind that the codes added in the Code Injection section apply to the entire site. The codes will go live once you've connected a Custom Domain to your Harness website.
If you have any questions or concerns, contact us directly via the Live Chat box, located in the lower right corner. Our Support Team will provide you with top-notch quality support, 24/7.
Last updated